- Home
- Azure
- Apps on Azure Blog
- Use preview environment for test in static web app
- Subscribe to RSS Feed
- Mark as New
- Mark as Read
- Bookmark
- Subscribe
- Printer Friendly Page
- Report Inappropriate Content
Azure Static Web App offers two types of preview environments: branch environment and named environment. Both of these methods offer isolated environments for testing and deploying changes to your Azure Static Web App, allowing you to test and validate changes without affecting the main production environment.
Here are the steps to create a preview environment:
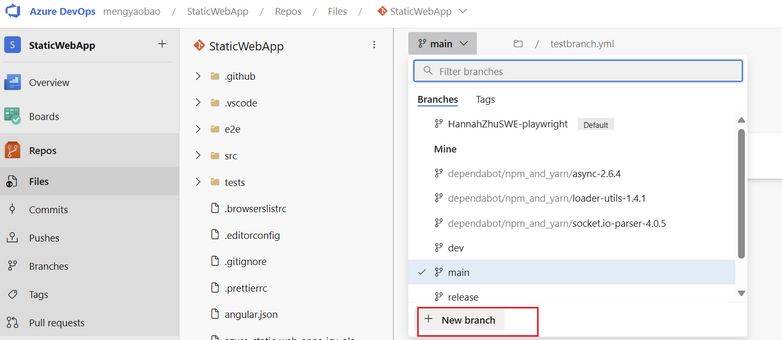
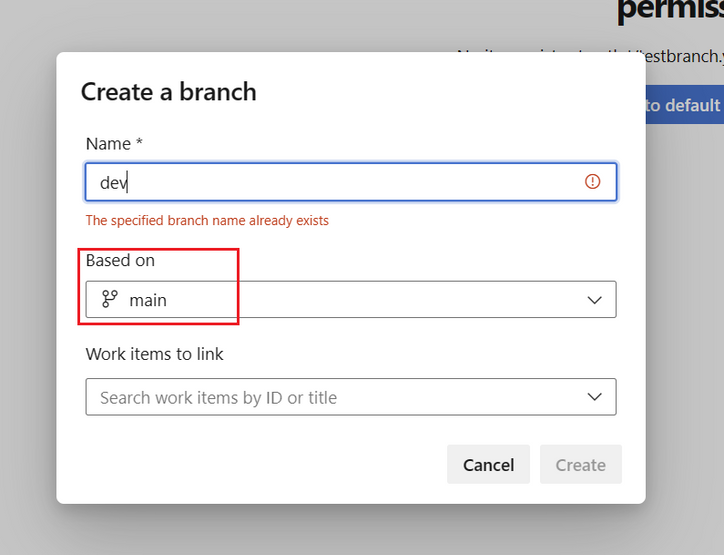
1. After deploying the production branch to the main site, create a new branch based on the main branch and name it "dev".
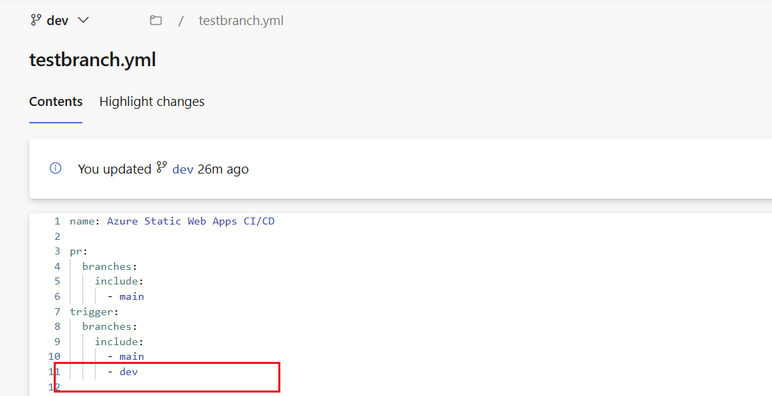
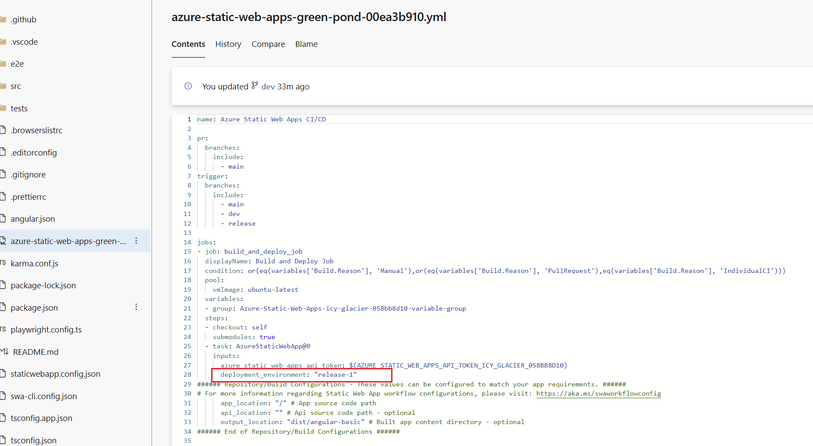
2. Modify your YAML file in the dev branch to include "dev" in the trigger to track any changes in the dev branch.
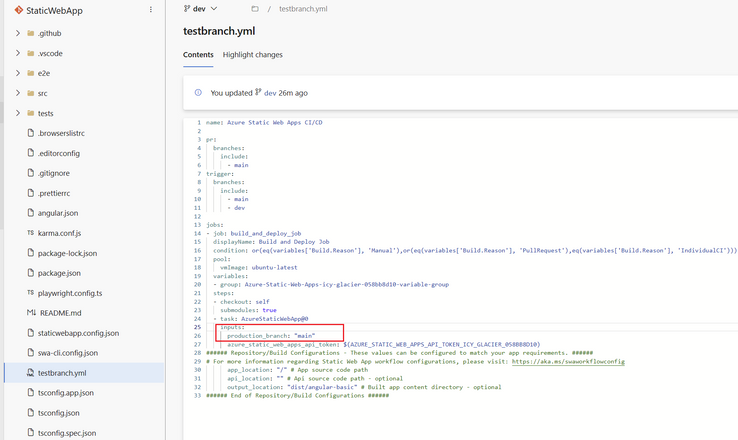
3. Set "production_branch" to the name of your production branch. This action will ensure the deploy task in the dev branch creates a new preview environment.
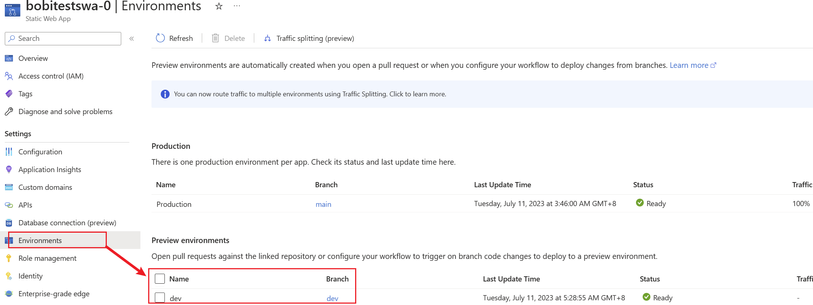
4. Save the changes and after deployment, you can see a new environment named 'dev' for the dev branch.
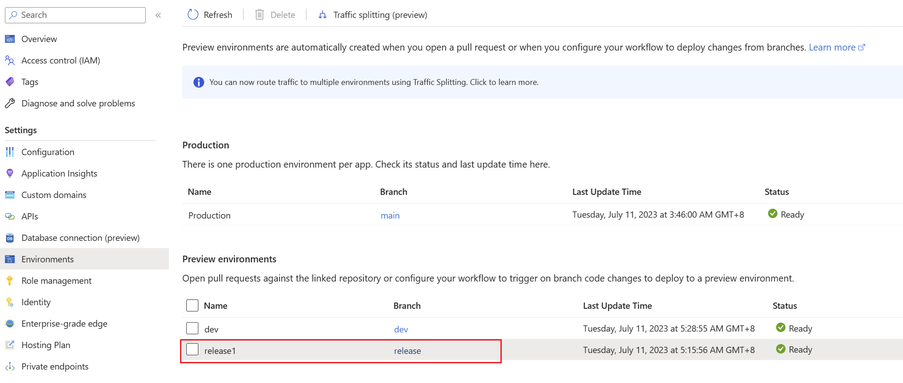
5. If you want to name a preview environment separately (instead of using the branch name), set the "deployment_environment" to the desired name, and it will create a named environment.
The main difference between branch and named environments is that branch environments are created automatically based on the branch name, whereas named environments are custom-named.
Overall, both branch and named environments provide isolated environments for testing and deploying changes to your Azure Static Web App, allowing you to test and validate changes without affecting the main production environment. The choice of environment type typically depends on the specific needs and development process of your project.
You must be a registered user to add a comment. If you've already registered, sign in. Otherwise, register and sign in.
